Configure Nameservers is the first step many users take when setting up their cPanel & WHM servers. Having your own nameservers allows you to take control of your DNS for your domains and provides your users with a central set of DNS that they can point their domain names to when hosting under your servers.
Before you begin, you will first want to make sure that your nameservers are registered with your domain’s registrar. This step may vary depending on your domain’s register, and you may need to reach out to them for the correct steps.
Table of Contents
Step by Step Guide to Configure Nameservers and IP Addresses
To configure default nameservers and IP addresses in cPanel & WHM, follow these steps:
Access WHM
Log in to WHM with your credentials.

Navigate to Basic WebHost Manager Setup
In WHM, find and click on the “Basic WebHost Manager Setup” option. You can usually locate it by typing “Basic” in the search bar or navigating through the left-hand menu to “Server Configuration” > “Basic WebHost Manager Setup”.
Set Default Nameservers
In the “Basic WebHost Manager Setup” interface, you’ll see options to set up default nameservers. Enter the nameserver hostnames you want to use as default (e.g., ns1.yourdomain.com and ns2.yourdomain.com).
Assign IP Addresses
Below the default nameservers section, you can assign IP addresses to your default nameservers. These should be the IP addresses of your server. If you have multiple IP addresses, you can assign them accordingly.

Save Changes and Restart if needed
Once you’ve entered the default nameservers and assigned IP addresses, click on the “Save Changes” button to apply your settings.
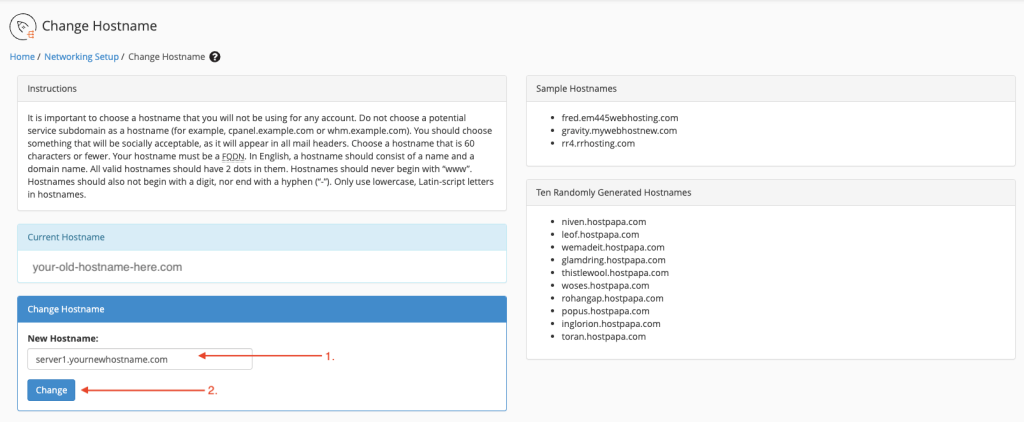
After changing the hostname, it’s a good idea to restart relevant services to ensure the change server hostname in WHM take effect. This step is optional but recommended for consistency. You can typically restart services like Apache and cPanel from the WHM dashboard.
Update DNS Zone Templates (Optional)
You can optionally update DNS zone templates to reflect the default nameservers. This step is useful if you want new accounts to automatically use the default nameservers. Navigate to “DNS Functions” > “Edit Zone Templates” to make changes.
Register Nameservers
After configuring default nameservers in WHM, ensure they are registered with your domain registrar. Log in to your domain registrar’s account and register the default nameservers with the corresponding IP addresses.
Update DNS Records If necessary
update DNS records for existing domains to use the default nameservers. This can typically be done through your domain registrar’s DNS management interface.

Verify Configuration
Verify that your default nameservers and IP addresses are configured correctly by using tools like dig or nslookup to check DNS resolution.
By following these steps, you’ll successfully configure nameservers and IP addresses in your cPanel & WHM server, ensuring smooth domain management for your hosting environment.


